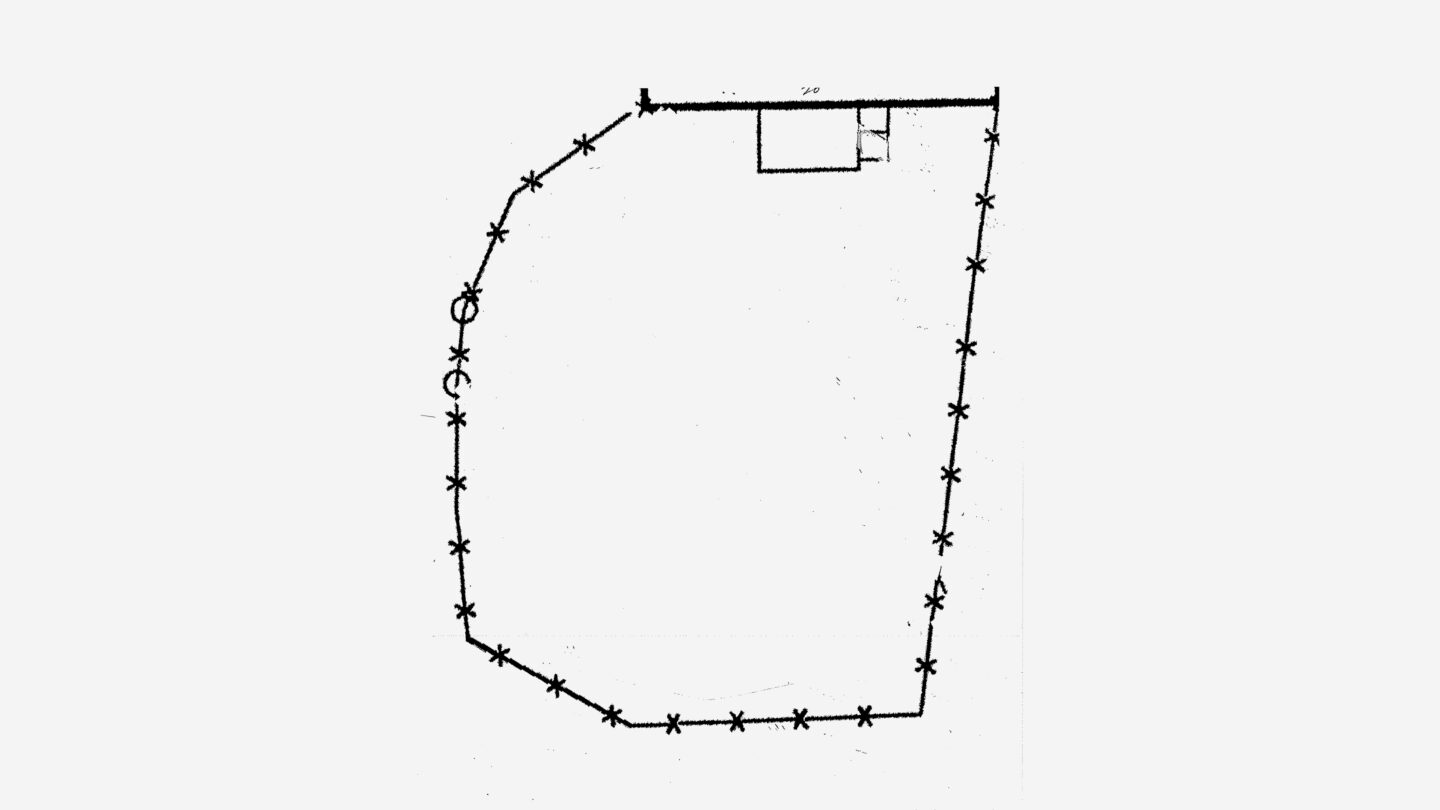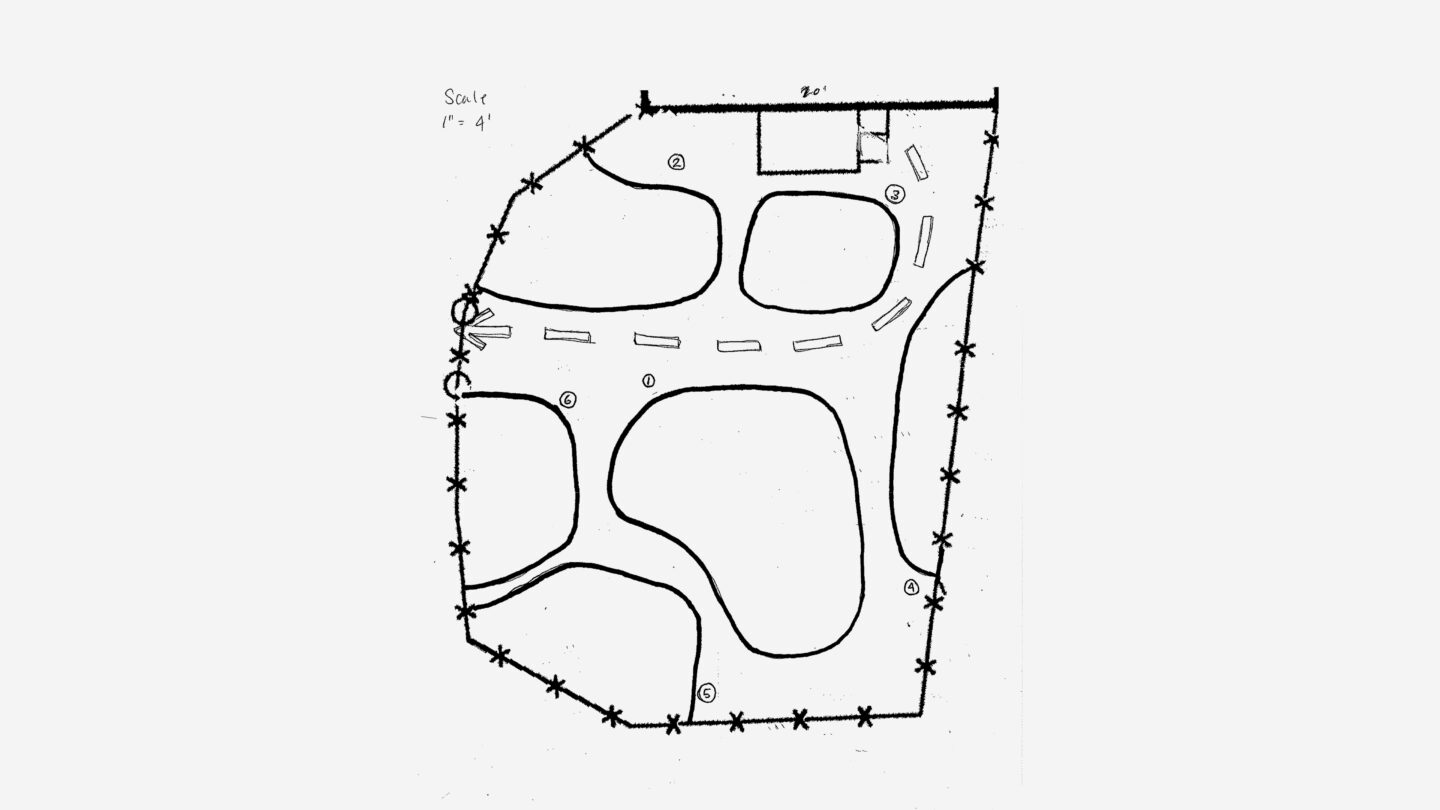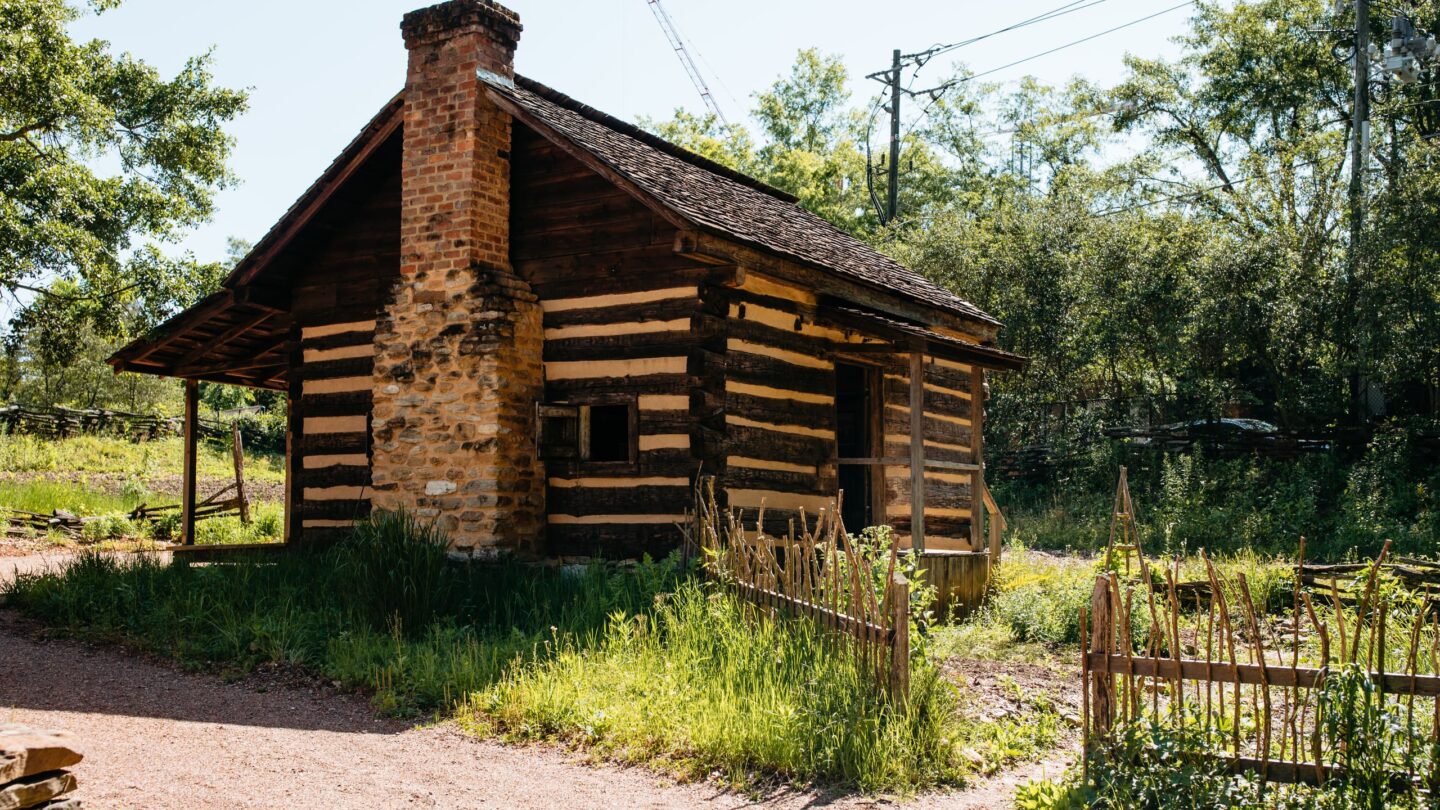
The Enslaved People’s Garden and cabin at Atlanta History Center (Atlanta History Center)
Although Juneteenth is only recently recognized as a national holiday, its importance is hard to overstate. It is one of only two federal holidays that began in remembrance of the Civil War (Memorial Day is the other). Juneteenth marks the day – June 19, 1865 – that the U.S Army in Texas proclaimed that slavery had ended. The enslaved people in Texas would have been the last in the Confederacy to learn of the Emancipation Proclamation and the freedom for slaves within the rebellious states. As a result, Juneteenth has come to commemorate the freedom of four million enslaved people as well as a celebration of African American cultural heritage.
Though freedom and self-determination were things for which Black people had long hoped and prayed, freedom brought about questions of survival. This included basic questions about where would they live, what would they do, and how would they feed themselves? Because of such uncertainty, some formerly enslaved people remained working on their former enslaver’s land. In many cases, this was under a system called sharecropping in which the landowner receives a share of the crops in place of rent – but if there is a bad crop year, the sharecropper becomes indebted to the landowner.
Other newly freedmen and freedwomen decided to strike out on their own, leaving familiarity for the unknown. Whether they stayed or left, African Americans often planted gardens to feed themselves. These gardens provided the nutrition and sustenance Black Americans needed to survive in a post-slavery world. They often were similar to the enslaved people’s gardens they had tended while under bondage.
If you want to learn more about how the formerly enslaved fed themselves and their families after slavery, consider planting an “Emancipation Garden.” An Emancipation Garden is a therapeutic way to nourish your body and soul, recreate and honor the foodways of African Americans in the South, and celebrate freedom.
About Enslaved People’s Gardens
Atlanta History Center staff in Civil War costumes reenact the delivery of the news of emancipation. (Atlanta History Center)
According to Atlanta History Center Horticulturist Michael Dreyer, enslaved people were allowed to have gardens during slavery because the gardens saved their enslavers money.
“The food rations of the enslaved were often meager at best, often consisting of salt pork and corn,” he said. “Allowing a garden gave the enslaver an excuse to purchase even less food, namely anything with a high nutritional benefit to keep the enslaved communities healthy.”
Culinary historian Jessica Harris is author of High on the Hog: A Culinary Journey From Africa to America. The quest for food, and enough of it, Harris noted, was a daily obsession for many of the enslaved. Since the quantity (and quality) of food rations was established by the slaveholders, their interest was in controlling costs rather than providing nourishment. Some of the enslaved people, therefore, saved and foraged seeds and tended gardens by moonlight. For the enslaver, they often found it easier to distribute seeds and allow the enslaved to supplement rations by growing vegetables and other plants on their own time.
Harris noted that these “provision grounds” were productive enough that enslavers “often purchased surplus goods from their own slaves’ gardens, paying them with cash, trade goods, or bartered privileges like passes to visit relatives. …” Many of the plants grown in the gardens – okra, watermelon, eggplant, and gourds – harkened back to distantly remembered African heritage.
At the History Center’s Smith Farm, the recreated enslaved people’s garden was established in 2004. “It’s one of the most fantastic botanical landscapes, curated landscapes, in the South,” said Michael Twitty. Twitty is a James Beard Award–winning author and culinary educator who consulted on the enslaved people’s garden. In a recent article about the garden in Garden & Gun magazine, he noted that “This is a shared history, and the way the Center tells these stories is revolutionary.”
What to Grow
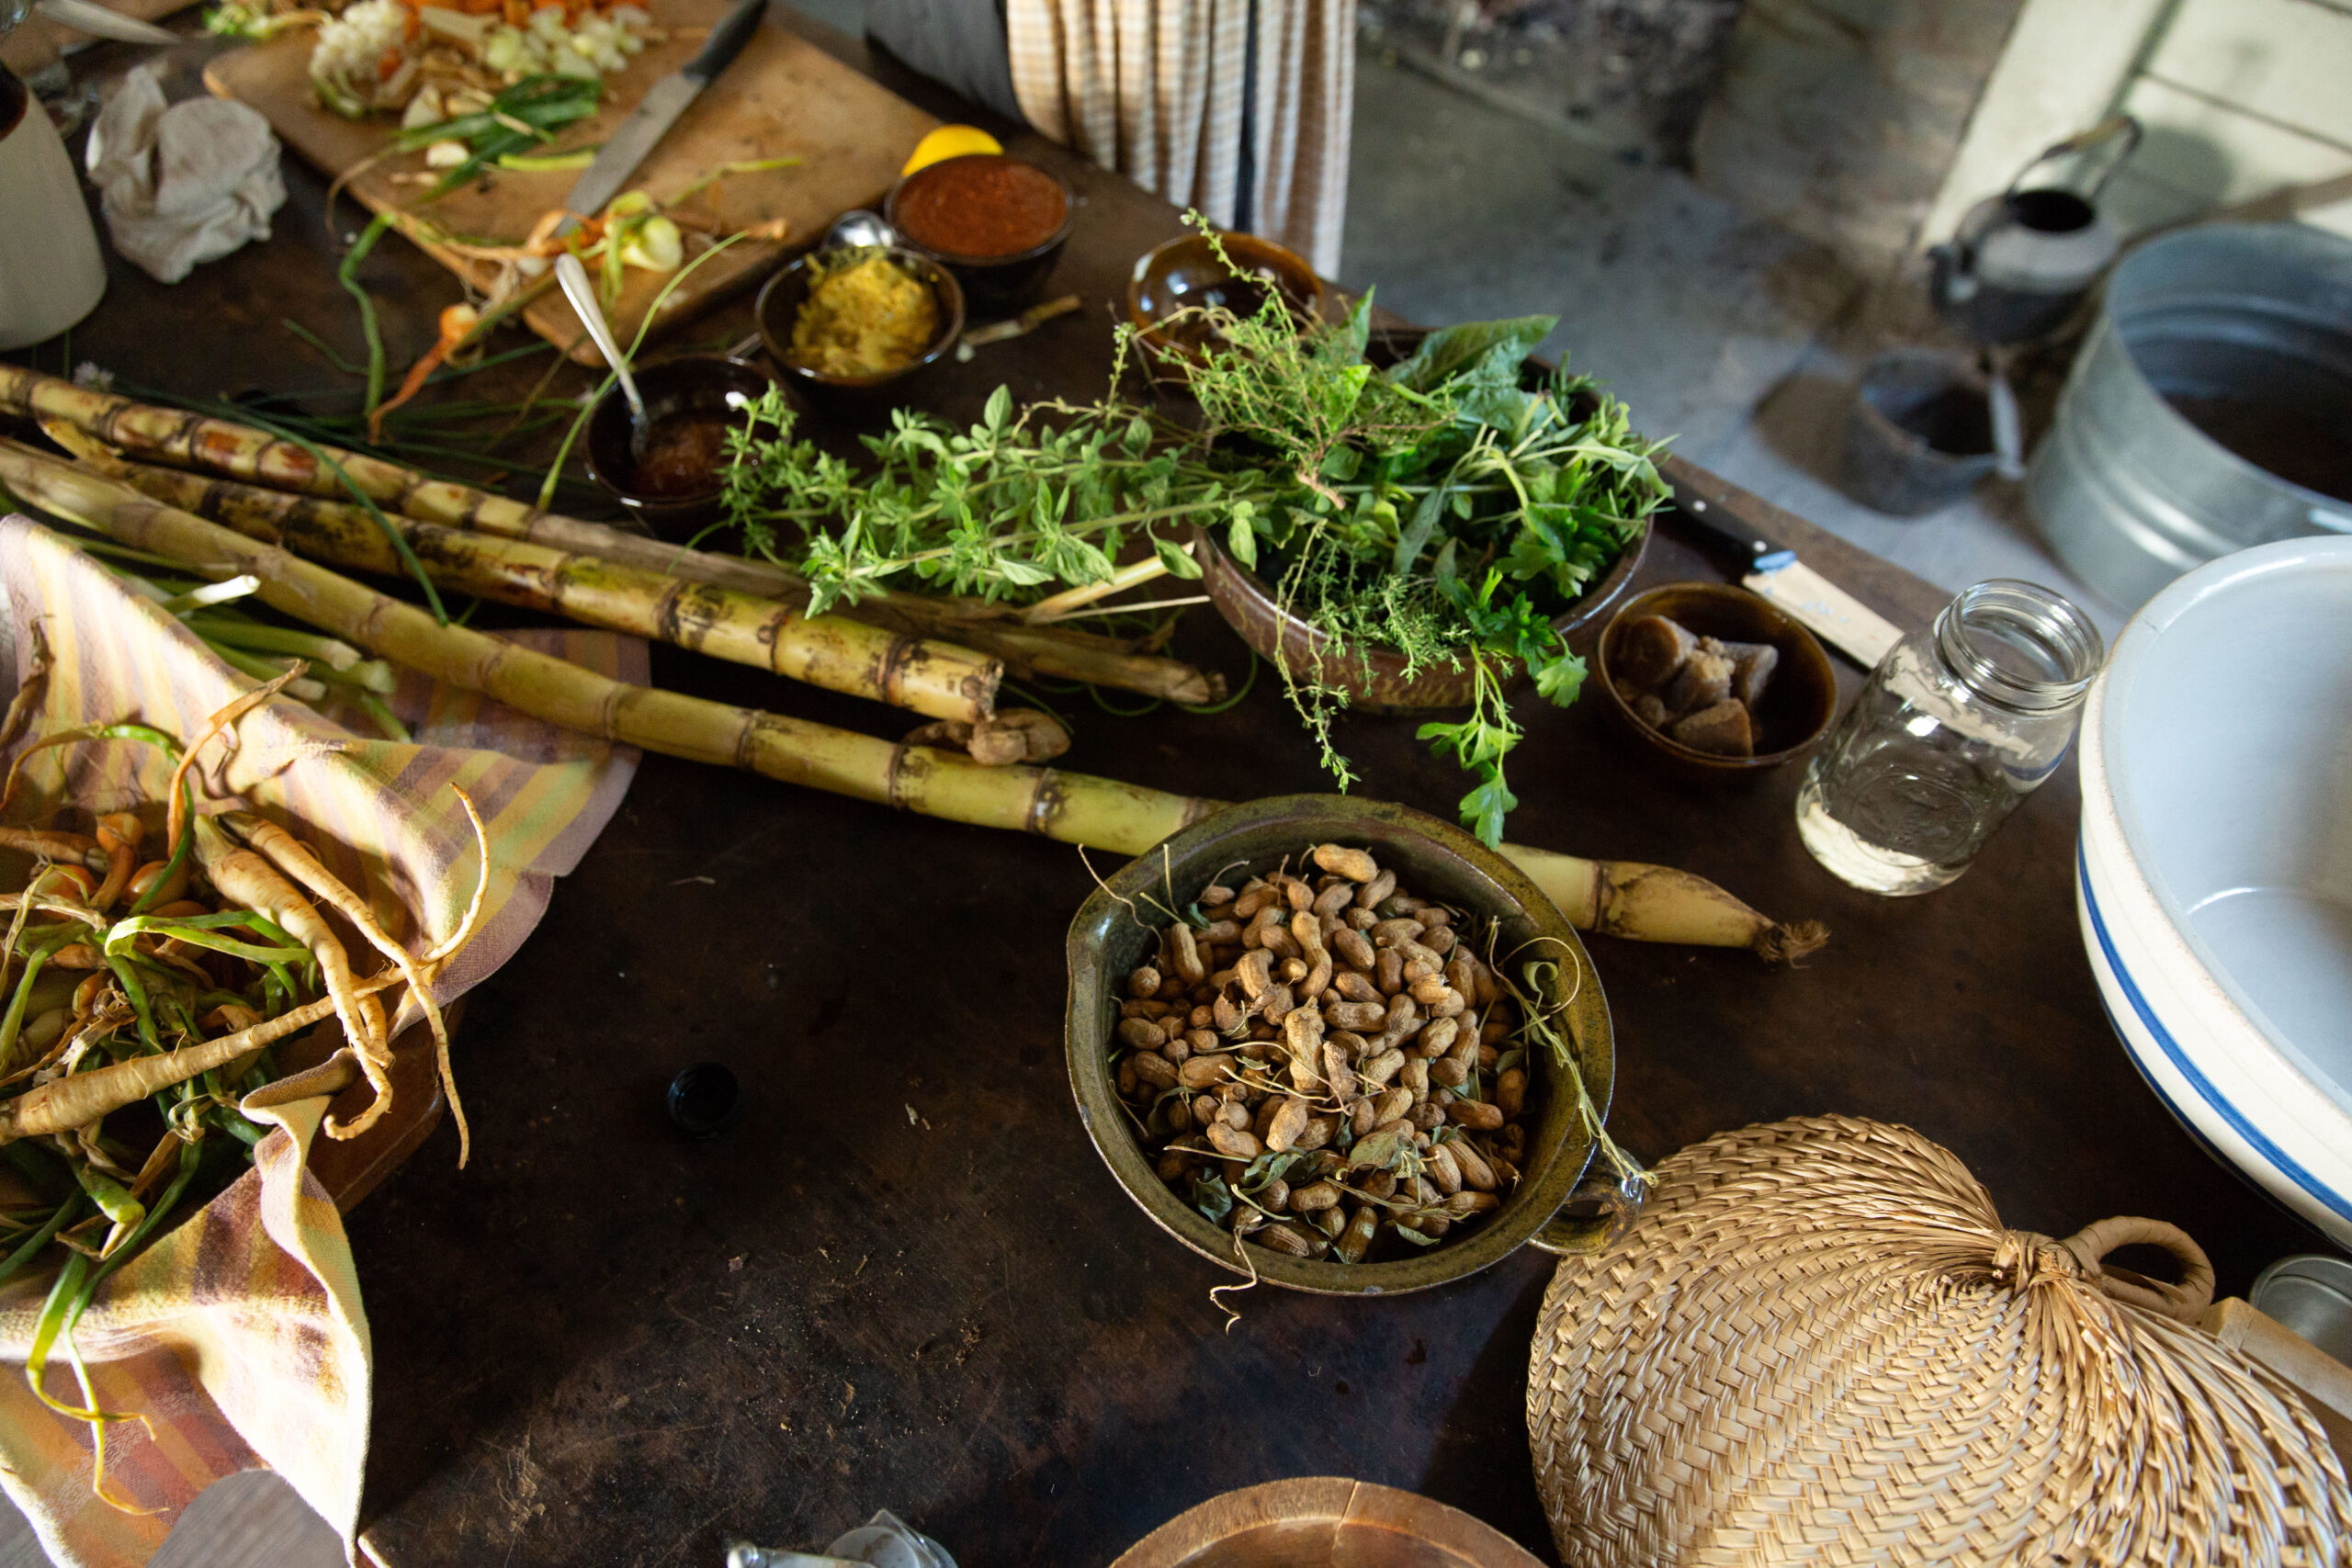
Herbs and plants that can be grown in an Emancipation Garden. (Atlanta History Center)
Dreyer recommended growing the following crops in your Emancipation Garden. These fruits, vegetables, flowers, and herbs are plants the formerly enslaved would have had in their gardens. Need some inspiration? Please stop by the Enslaved People’s Garden here at AHC and see how our garden grows.
| Vegetables and Fruits | Herbs and Flowers | |
| Okra | Calendula | |
| Alliums (Garlic, Onions) | Thyme | |
| Cowpeas | Basil | |
| Bush Beans | Sage | |
| Eggplant | Rosemary | |
| Summer Squash | Parsley | |
| Luffa | Oregano | |
| Cucumber | Perennial Chives | |
| Tomato | Borage | |
| Bell Pepper | Lemon Balm | |
| Cayenne Pepper | Hops | |
| Fish Pepper | Chamomile | |
| Sweet Potatoes | Benne Sesame | |
| Peanuts | Amaranth | |
| Corn |
How to Grow it
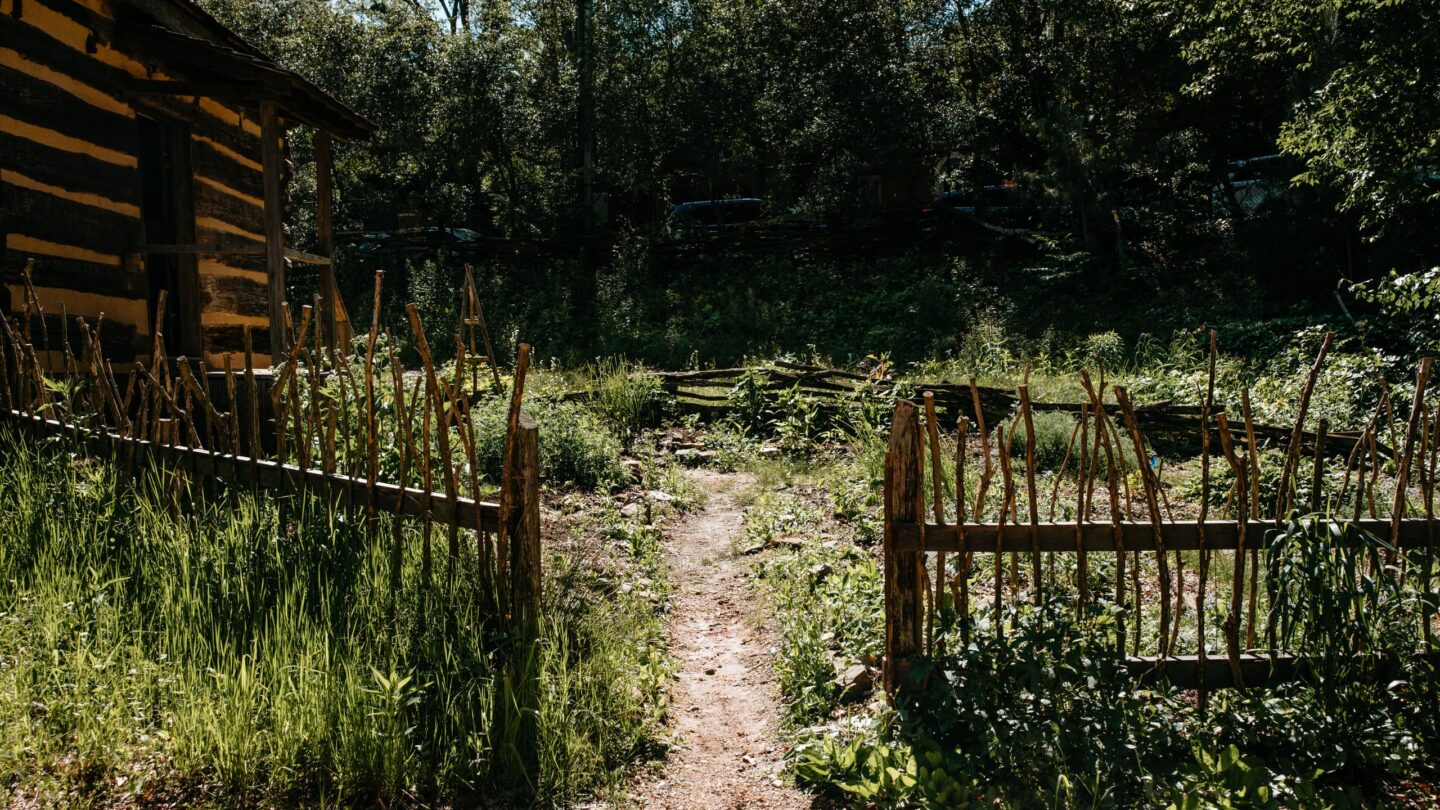
The Enslaved People’s Garden is sited in a sunny location and enclosed by a fence made of tree branches. (Atlanta History Center)
Planning
The first step in growing an Emancipation Garden is deciding what to grow. To avoid waste, it’s a best practice to grow only things that you or your family members enjoy eating. After you’ve decided what you want to grow, choose where you want each type of plant to go in your garden.
Preparation
Most fruits and vegetables need full sun with at least five hours of direct sunlight each day. Start by choosing a sunny, level area, then measure and stake out your garden space. Remove any existing turf and enrich the soil by mixing in aged compost.
Adaptation is a key part of not only the African American experience but also the Emancipation Garden, so work with the space you have. If you don’t want to dig up your entire backyard, start with a raised bed. If you’re short on space, use five-gallon buckets or grow your crops vertically. Fill raised beds or buckets with a mix of garden soil and compost designed for containers.
Planting
Though many freedmen and freedwomen were familiar with large-scale agricultural techniques, when it came to their personal provision gardens, they practiced “circular gardening.”
Circular gardening is much less time-consuming than traditional row-style farming. It relies on slightly raised beds in unstructured shapes bordered by stone or other material to prevent erosion. Seed was usually tossed into the soil in large quantities at random and then thinned out once sprouting occurred. The enslaved gardeners also planted different crops together that benefited each other. An example is the Indigenous American tradition of growing the “Three Sisters” (squash, beans, and corn) together. Additional advantages to circular gardening are lower water consumption, increased nutrients, and reduced weeds and pests.
Patience
Walk through your garden every day and pull small weeds you see. Water your garden as needed. Plants require about one inch of water per week during the growing season. Overwatering is as bad as underwatering, so always check the soil before watering your plants.
Fertilize your crops with compost tea when necessary. Bugs are attracted to plants that are stressed and deficient. If you have healthy, well-fed plants, pest problems will likely be minimal.
Partake
As your crops mature, make sure to harvest as soon as possible for the best quality. Crop flavor is typically best when the morning dew has cleared, but before the afternoon heat has settled in.
Leafy greens, such as lettuce, are typically “cut and come again,” which means you can clip off the leaves, and they will grow again. Pick beans and peas every two days; harvest sweet corn when cobs are well-filled out, and its silk is dark. Pick tomatoes and peppers when they are green or allow them to ripen to full sweetness and flavor.


